I Switched from Windows to Mac Last Month - Here Are 10 Tips You Need to Know

Table of content
Here Are 10 Tips you Need to Know
- Right-Click Functionality
- Understanding the Mac Dock / Windows Taskbar
- File and Application Management
- Notification Center and Control Center
- Spotlight Search
- Finder and File Explorer
- Advanced File Management
- Application Menu and System Preferences
- Managing Open Applications
- Stage Manager and Window Management
Hey everyone,
So, just last month, I made a big change after a whole decade of using Windows—I switched to a Mac. Sounds a bit daunting, right? But honestly, it's been totally worth it. As someone who juggles web development and graphic design, having a reliable system is super important. Plus, you just can't create iOS apps on Windows or Linux.
Now, why a Mac, you might ask? Well, the new Apple Silicon chips (like the M1 and M2) caught my eye. They promise not just increased power but also incredible portability, with battery life that lasts over 10 hours! That's a game changer for someone like me who's always on the move.
Today, I want to share my journey of moving from Windows to Mac—the initial awkwardness, the surprises, and why it feels like a step up. Stick around as I dive into what it's like to switch gears after ten years!
1. Right-Click Functionality

Initially, it might seem like there's no right click on Mac, but like on Windows, the right click gives you a wealth of options, and there are actually several ways to do it. The way Apple wants you to do it is by holding down the Control key and clicking your trackpad or mouse.
But if you own a trackpad, it's much easier to just two-finger tap. And if you own a so-called magic mouse, the right click is, for whatever reason, deactivated by default. Click the Apple logo in the top left corner and go to System settings. Scroll down until you find mouse, and you can set Click Right Side for the secondary click. The magic mouse will now work like any other mouse.
2. Understanding the Mac Dock / Windows Taskbar
Now, the taskbar on Windows bundled widgets, Windows Search apps, quick settings, and notifications into one single place. You more or less find all those things on your new Mac, but they are more widely spaced. Let me explain.
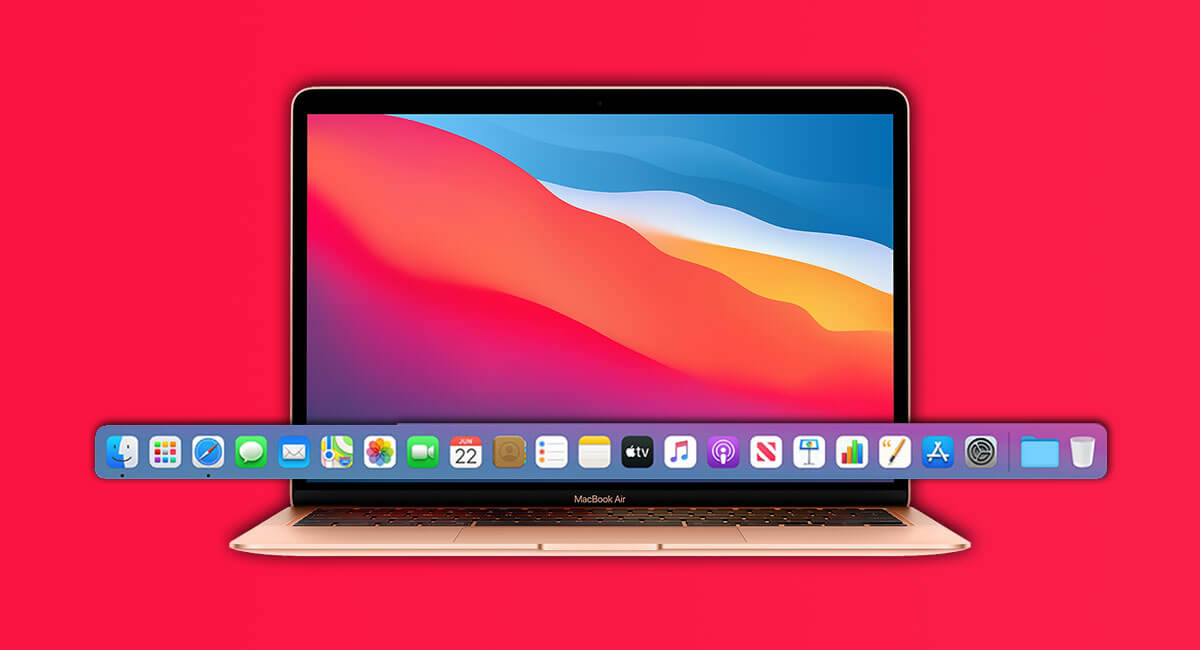
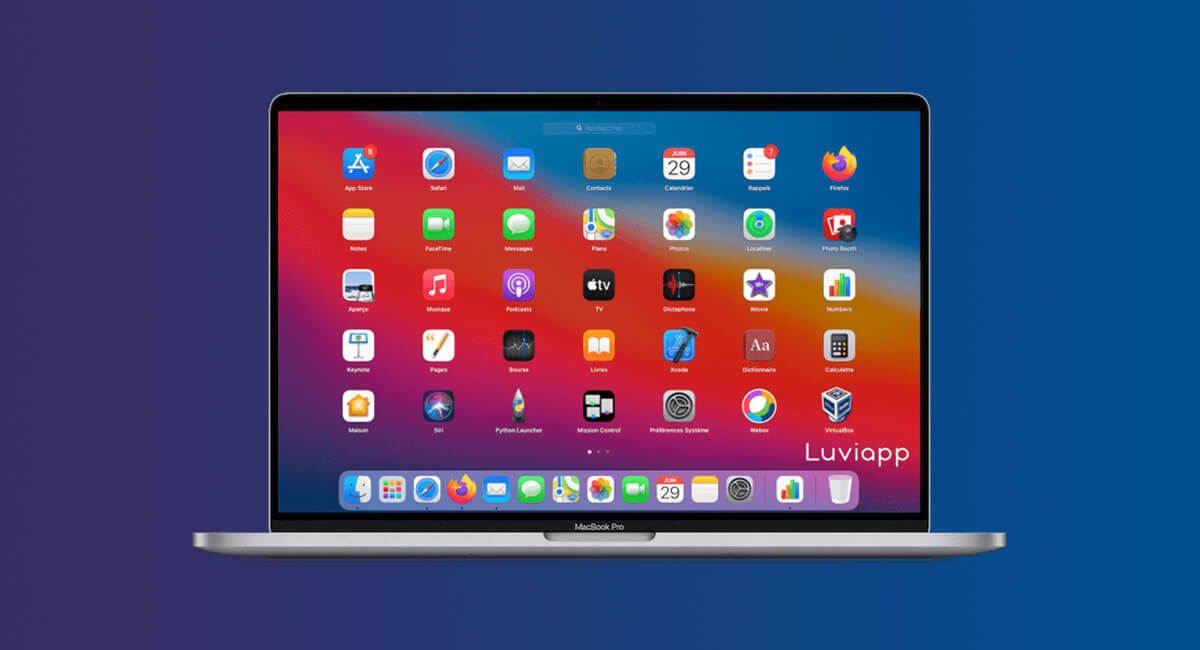
Just like Windows Taskbar, where you can pin apps, the Mac has its dock. It also anchors, to stick with the metaphor, your most used apps. Now, you'll find all apps downloaded to your Mac on the launch pad, comparable to the iPhone home screen. You can drag and drop any of those apps into your dock for quick access.
Likewise, you can drag and drop any app that you don't need there out of your dock. The section further right shows you up to three recently used or currently open apps that you haven't permanently placed in your dock yet. And on the rightmost side, you'll have your trash bin where you can drag and drop any file to delete it from your Mac, which also changes to a disk ejector when this happens to be a disk.
3. File and Application Management
Now, on Windows, you've probably pinned certain folders to your start menu for quick access, and you can do the same here. By default, you already have your downloads folder here, but you can drag and drop any folder into this section of the doc. And pro-tip, you can right-click that folder and select a viewing option like fan, grid, or list.
4. Notification Center and Control Center
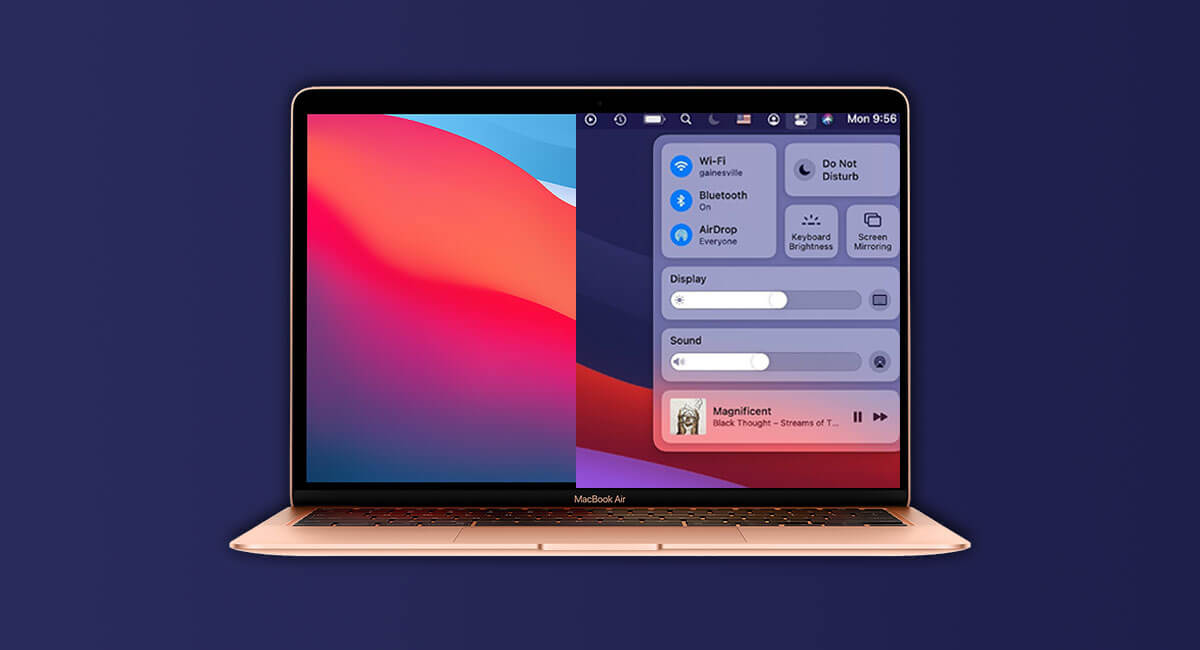
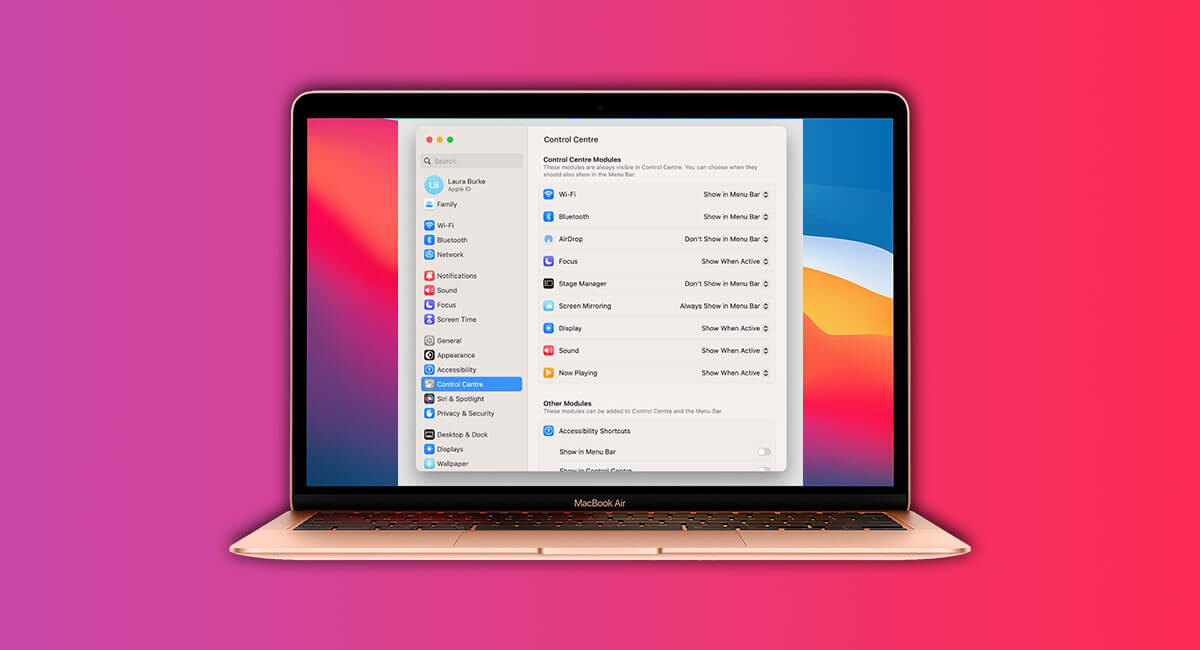
Both the notification area and Widgets board in the Windows taskbar are bundled in the max notification center. Swipe with two fingers from on the right edge of your trackpad or click the time and date in the top right corner. Here you'll find a list of recent notifications, and below are your widgets, which you can personalize to your needs using drag and drop.
Closing the notification and opening the so-called control center, this one gives you access to a few quick settings, which you previously might have found in your Windows taskbar. Sound outputs, display brightness, WiFi networks, and Bluetooth connections can all be changed from here without having to open the system settings. For one-click access, you can drag and drop specific options next to the Control Center icon. It's as easy as that.
5. Spotlight Search
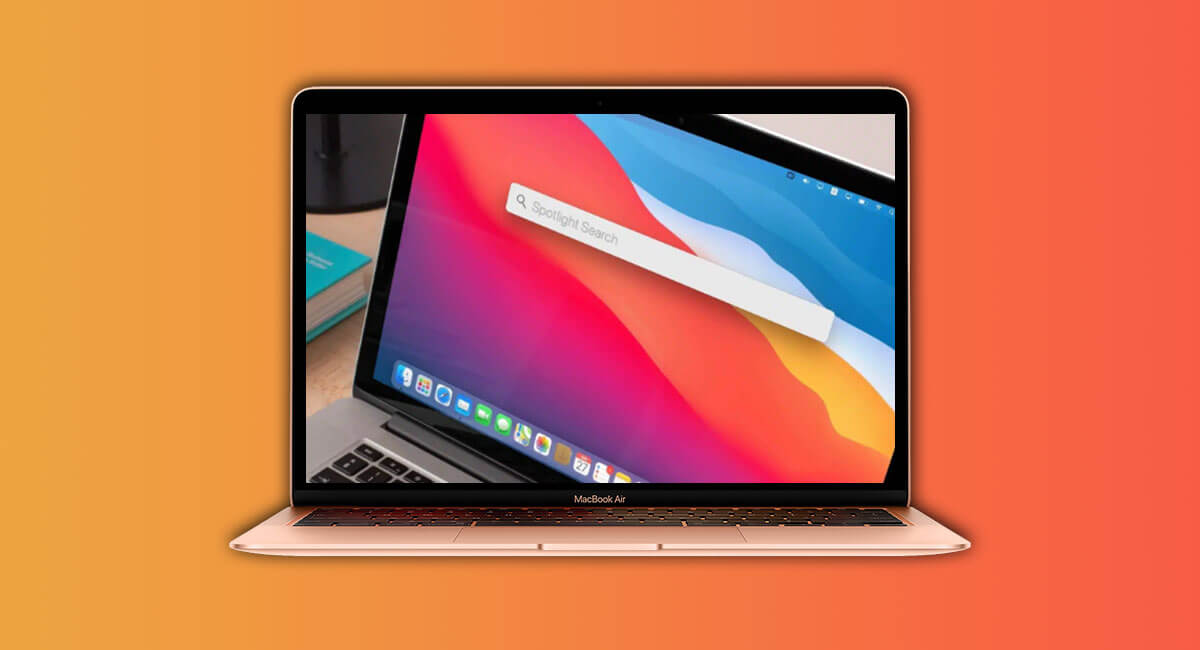
Windows Search, which is prominently placed in the taskbar too, has its Mac equivalent with Spotlight Search. Many people, especially Mac users, might say it's even better. Let me explain you. Wherever you are on your Mac, pressing Command plus the space bar brings up a popup search bar. This one really does magic. You can find basically anything on your Mac and even beyond, simply starting with apps, settings, files, or even text within files.
What's more, you can visually search your photos, look up weather conditions, type in currency conversions, or the quick calculations, and all of this without leaving your keyboard. Use the arrow keys to move up and down your search results, use the space to get a quick preview of the file, or drag and drop anything out of Spotlight search into, let's say, an email, and it's attached. Finally, if you found the file you were looking for but want to see where it's located on your Mac, hit Command and R to reveal it in the Finder.
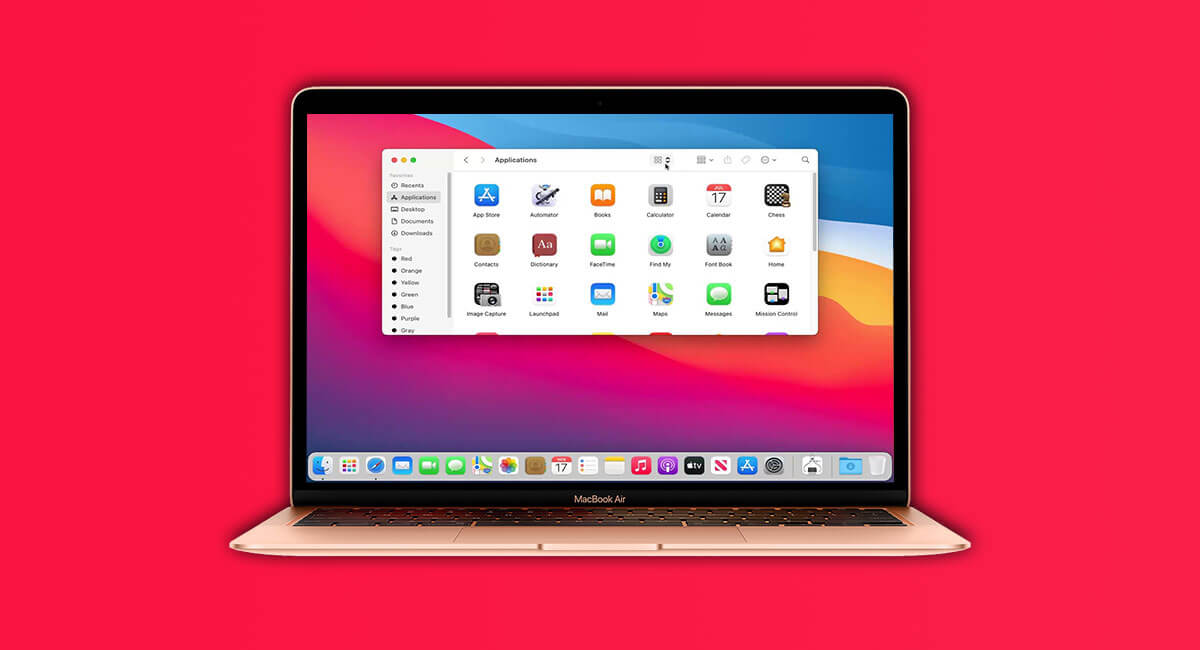
6. Finder and File Explorer
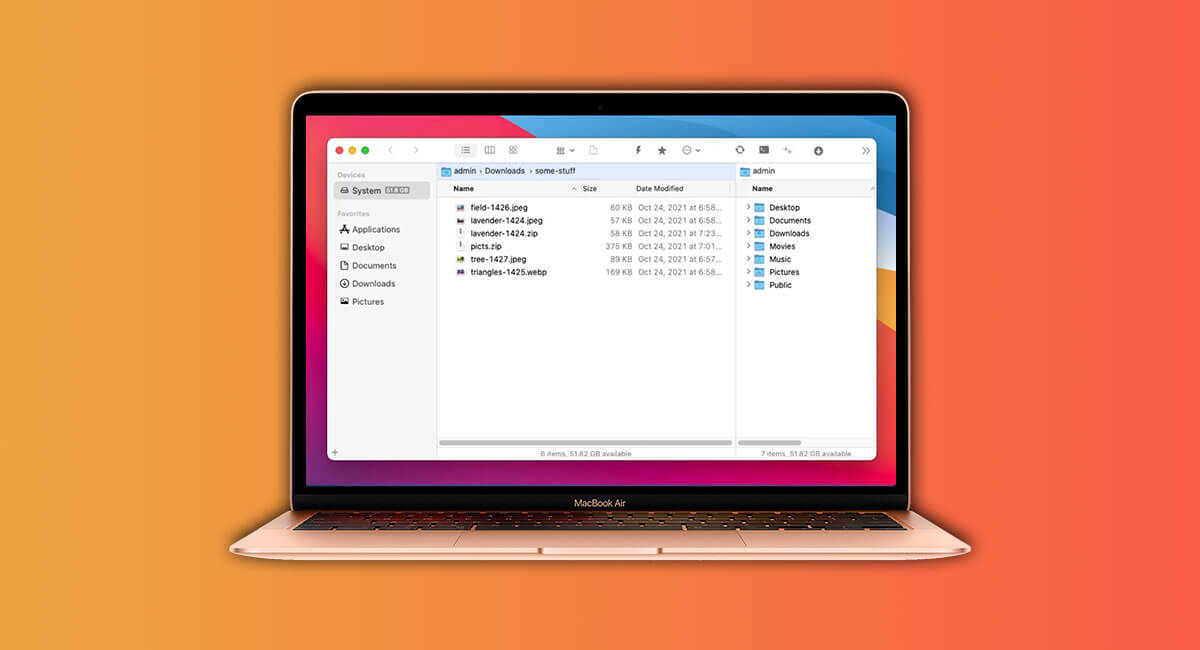
It's good that we've landed here because what the file explorer is on Windows, the Finder is on macOS. Initially, it might look very confusing, and you have no clue where you are right now. Let's click View here and select Show Pathbar. In case you've missed this feature from the file explorer, now shows you exactly where you are in the folder hierarchy, so you can jump back to any folder on your path and even drag and drop files into one of your previous folders.
Now, the sidebar is similar to the one in file Explorer in a way that you can also pin important folders by dragging and dropping them there for quick access.
7. Advanced File Management
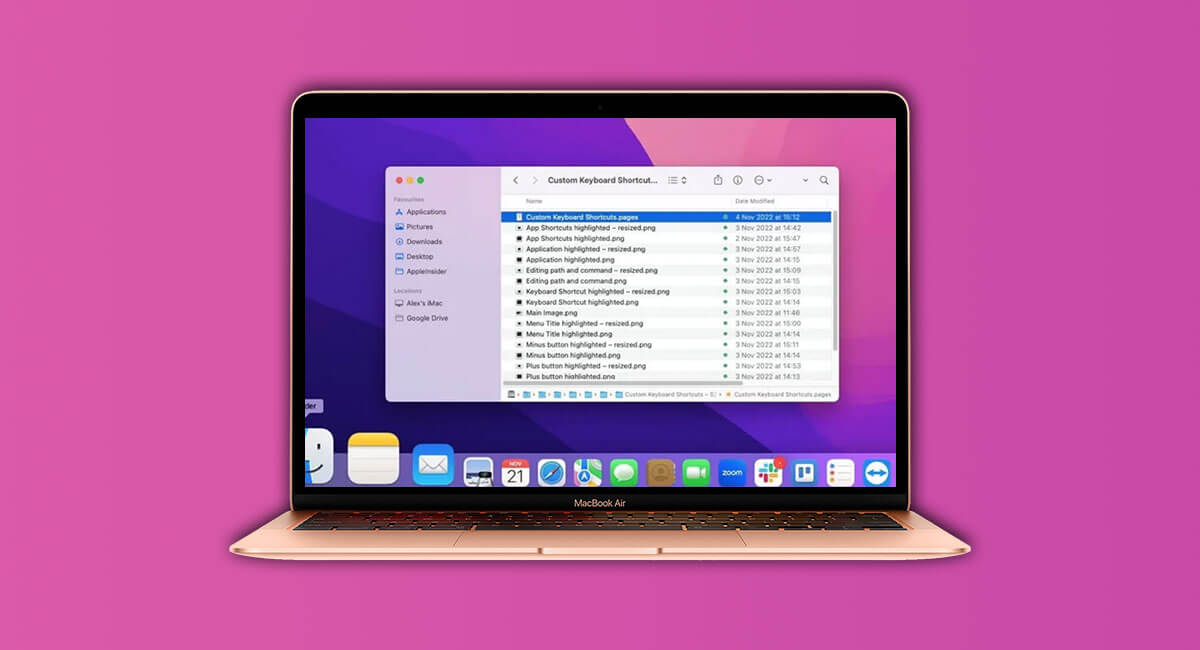
Now, the sidebar is similar to the one in file Explorer in a way that you can also pin important folders by dragging and dropping them there for quick access. To undo, simply right-click and select Remove from Sidebar. Within a folder, you've got four different different viewing options.
To quickly toggle between those view options, hit Command and one, Command and two, and so on. Despite of which one you choose, with any file selected, you can always hit the space bar to get a sneak peek into the file's content without actually opening it in any app.
This works with images, videos, audio files, PDF documents, so basically any file type. Now, in File Explorer, you've probably used Command and X to move your files. But a Mac, there's no such shortcut. In general, macOS is a very drag and drop-focused software, so you can either drag your files to any folder and let go, which works especially great in the column view, or first copy the file and then instead of pasting it with command and V, paste it with option command and V. This moves the file from location A to location B instead of duplicating it.
8. Application Menu and System Preferences
Windows, apps have their own menus always attached to the app window. On Mac, you've got the menu bar which always runs along the top of the screen and adapts to each app you have opened.
The app's individual settings can often be found by clicking on the app's name and then on preferences. Also, there's always a help category where you can type in any keyword to search for in the menu bar. But there's one thing that permanently stays the same, and that's the Apple menu. It gives you quick access to info about your Mac, system settings, settings, the App Store, and restarting or shutting down your Mac.
9. Managing Open Applications
As soon as you've opened a couple of apps, the question arises of how to easily switch between them. On Windows, the good old Alt plus Tab shortcut lets you see all your currently active apps and their respective windows. Likewise, on your Mac, you can use Command plus Tab to toggle between your open apps. Yet this doesn't allow us to toggle between different windows of the same app. For that, you can use the shortcut Command plus Tilde key.
To see all your active windows, there's Mission Control, aka Task View back on Windows. On a MacBook, swipe up with three fingers on the trackpad or on a Mac keyboard, press the Mission Control icon. You've now got control over every window that's currently open on your Mac.
10. Stage Manager and Window Management
Apple has introduced Stage Manager, which is available to all Macs running at least macOS Ventura, and it might make navigating your apps and windows easier for you. You can toggle it on in the control center, and it always keeps the app you're working with front and center, and all other currently open apps neatly arranged along the left side of the screen. All the previous ways to switch between apps will still work. Now, Windows does have an amazing feature that the Mac for whatever reason lacks, and that is snapping windows to the edges and corners of the display.
On Mac, you can only manually resize windows, but a few tricks can help. Instead of only When resizing one corner of a window, hold down option whilst dragging the corner to resize the window from the center. Next, if you click and hold the green maximizing button, you can tile the window to the left or right side of the screen and choose a second app to open split view. Drag the slider in the middle to adjust each window's size.
Conclusion
I've been using Macs as my go-to computers for the past month, and honestly, I haven’t looked back. I’ve even sold all my PCs, and I feel relieved knowing that choosing my next computer will be much simpler.
One thing I really appreciate about Apple is how straightforward it makes things. There’s no need to spend hours comparing endless options. Just dive into the ecosystem and get started.
Looking back, I kind of wish I hadn’t waited so long to give Macs a try. I should have switched years ago.
What about you? Are you team Mac or PC? Drop a comment below—I’d love to hear what you think about both, what you enjoy and what frustrates you.

Nishanth Mathur
Hi! I'm Nishanth Mathur, a freelance tech writer and content marketer. I specialize in creating content for tech companies, with a focus on MacBooks and AI technologies. Whether it's writing in-depth articles, crafting engaging marketing content, or exploring the latest in technology, I'm passionate about bringing complex topics to a wide audience.