How to Upgrade HDD to SSD in MacBook | A Step-by-Step Guide
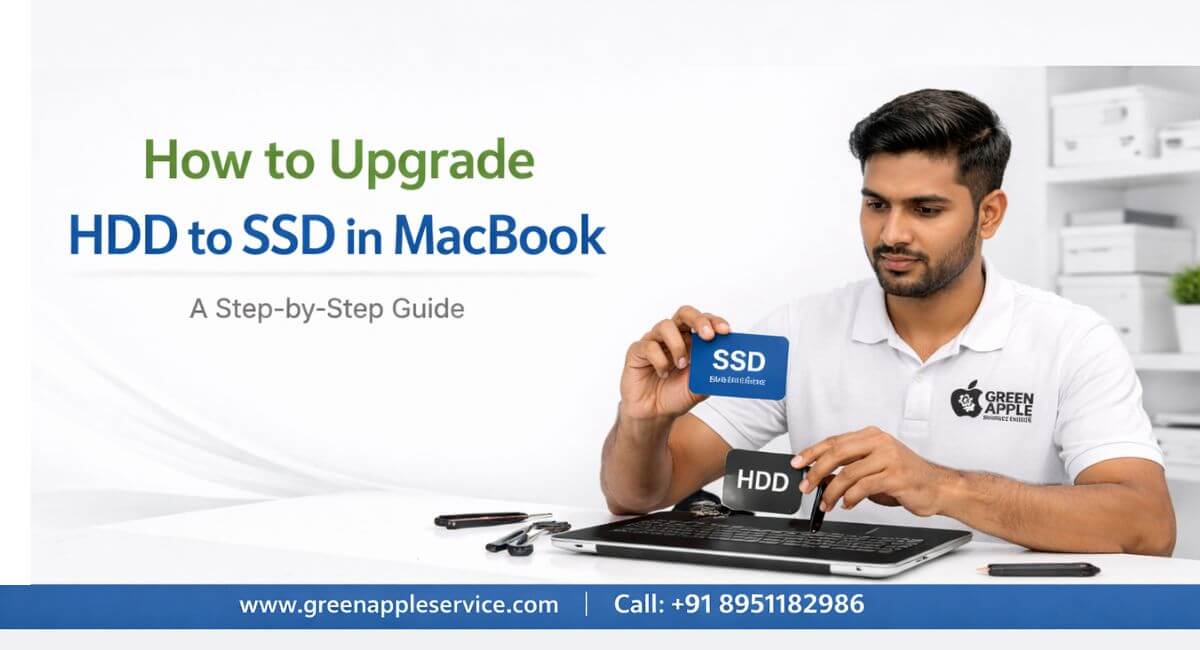
Table of content
Introduction
A Step-by-Step Guide: Upgrade HDD to SSD
Step 1: Choose the Right SSD
Step 2: Backup Your Data
Step 3: Get Necessary Tools
Step 4: Prepare Your MacBook
Step 5: Swap the Drives
Step 6: Reassemble Your MacBook
Step 7: Restore Your Data
Step 8: Finally, Enjoy Improved Performance
Need Help? Contact the Experts
Conclusion
FAQs
Introduction
If your MacBook feels slow or takes longer than usual to open apps, you're not alone. We've all been there — waiting for the spinning wheel to disappear. It can be frustrating. The good news? There's a simple way to bring your MacBook back to life.
In this blog, you'll learn everything you need to know about how to upgrade HDD to SSD in your MacBook. This step-by-step guide will help you improve performance, reduce loading time, and get a much faster system — without needing to be a tech expert.
So, whether you're doing it yourself or taking it to a technician, here's how to make your MacBook SSD upgrade a smooth experience.
A Step-by-Step Guide: Upgrade HDD to SSD
Are you thinking to make your MacBook faster? Then upgrading from HDD (Hard Disk Drive) to SSD (Solid State Drive) is one of the best things you can do. In this part, we will explain how to upgrade your MacBook from HDD to SSD in a very simple and easy way. No big technical words, no confusion. Just follow the steps and enjoy the super speed of your Mac. ⚡ Let’s start!
Step 1: Choose the Right SSD
Before you jump into the upgrade, the first and most important step is picking the right SSD. Every MacBook model has different compatibility, so check which SSD your Mac supports. Not all drives are the same — some are faster, some have more storage.
The goal here is simple: Find an SSD that fits your MacBook, gives you enough space for your files, and delivers a good speed. A mismatch can create more problems later. So, take a little time to get this right. This is the first key step to successfully replace the MacBook hard drive.
Step 2: Backup Your Data
This step is like packing your bag before a trip. You don't want to forget anything important. Before you change your hard drive, you must back up everything — photos, documents, apps, and other important files.
You can use Time Machine or any external drive to do this. It's like creating a safety copy of your Mac. So once the new SSD is installed, you can simply bring everything back, like setting up your room the way it was. This is also one of the most important tips to improve the performance of MacBook — clean backup smooth setup.
Step 3: Get Necessary Tools
You don't need a lot of fancy tools — just the basics. A small screwdriver set, a new SSD, and an external drive for backup will do the job. Also, keep a small tray or box for the screws. They're tiny and can disappear fast! Some MacBooks may need a special screwdriver (like a Pentalobe), so check your model in advance. Once you have your tools ready, the rest becomes a lot easier.
Step 4: Prepare Your MacBook
Now, it's time to get your MacBook ready for the upgrade. Start by turning it off completely. Then, unplug all cables and place them on a soft surface. Carefully remove the bottom panel using the screwdriver.
Inside, you'll see the hard drive — the part you will replace. Before touching anything, take a quick picture of how everything is connected. It'll help when you're putting it all back together. This step is like getting your room ready before painting the walls. Simple prep saves you from mistakes later.
Step 5: Swap the Drives
This is the main part of the MacBook SSD installation. Carefully unplug the old HDD and remove it from its bracket. Then, place the new SSD in the same spot. Be gentle. Don't force anything.
Reconnect it the same way the old one was connected. Tighten the screws but don't overdo it. Once it's in place, you're almost done! You've now completed the physical part of the MacBook SSD upgrade.
Step 6: Reassemble Your MacBook
Remember the screws you kept safe? Time to put them back. Reattach the bottom panel carefully and make sure everything is tight. This step might feel small, but it's crucial. One loose screw can create future problems. Once it's all closed up, take a deep breath — the tough part is done!
Step 7: Restore Your Data
Now, power on your MacBook. It may take extra seconds on the first boot, so don't panic. Connect your backup drive and start the recovery process. If you use Time Machine, it's just a few clicks.
This is like moving into a new house and unpacking your boxes. Your old photos, apps, and files will now be transferred to your new, faster SSD. If you need expert help, you can visit a trusted Apple Service Centre in Bangalore, where professionals can easily handle this step.
Step 8: Finally, Enjoy Improved Performance
Once everything is restored, you'll instantly feel the difference. Apps will open faster, the system boots in seconds, and multitasking becomes smooth. This small change — switching from HDD to SSD — can completely transform how your MacBook works. It's not just a fix; it's a boost.
Many users say this is the best performance improvement they've ever made on their MacBook. If your system still feels sluggish or has other issues like screen cracks or display problems, you can also consider getting a MacBook screen repair or general Macbook repair service.
Need Help? Contact the Experts
Not comfortable doing it yourself? No worries. Contact Green Apple Service Center — a trusted place for MacBook HDD to SSD service in Bangalore. Their trained professionals can help you upgrade quickly and safely without any risk to your device. They also offer pickup and drop service, so you don't need to worry about carrying your MacBook.
Conclusion
Upgrading from an HDD to an SSD may sound technical, but it's one of the smartest choices to boost your Mac's performance. Whether you do it at home or through a service centre, the benefits are worth every effort. Quicker boot times, faster performance, and better multitasking come with a simple upgrade.
So, if you've been wondering how to upgrade MacBook storage, now you know the exact steps. A faster, smoother MacBook is just one decision away.
Frequently Asked Questions
Where can I get professional help in Bangalore?
Visit Green Apple Service Center, one of the best for MacBook HDD to SSD service in Bangalore.
Is SSD better than HDD for MacBook?
Absolutely. SSD is faster, more reliable, and more energy-efficient.
Can I do the upgrade myself?
Yes, with the right tools and instructions. But if unsure, go to a Macbook repair service centre.
Will I lose my data during the upgrade?
No, as long as you back up everything properly before replacing the drive.
How long does it take to upgrade HDD to SSD in a MacBook?
Usually 30 minutes to an hour, depending on your experience level.

Nishanth Mathur
Hi! I'm Nishanth Mathur, a freelance tech writer and content marketer. I specialize in creating content for tech companies, with a focus on MacBooks and AI technologies. Whether it's writing in-depth articles, crafting engaging marketing content, or exploring the latest in technology, I'm passionate about bringing complex topics to a wide audience.